
CSS Selectors | Pseudo CSS properties
brief introduction about CSS selectors & effective use cases.


Hello Folks 👋,
Do you know what is the effective way of learning a CSS, yes you guessed it right, by learning the core concepts of CSS selectors, keep reading and we are going through major selector examples & use cases along with the Code snippets,
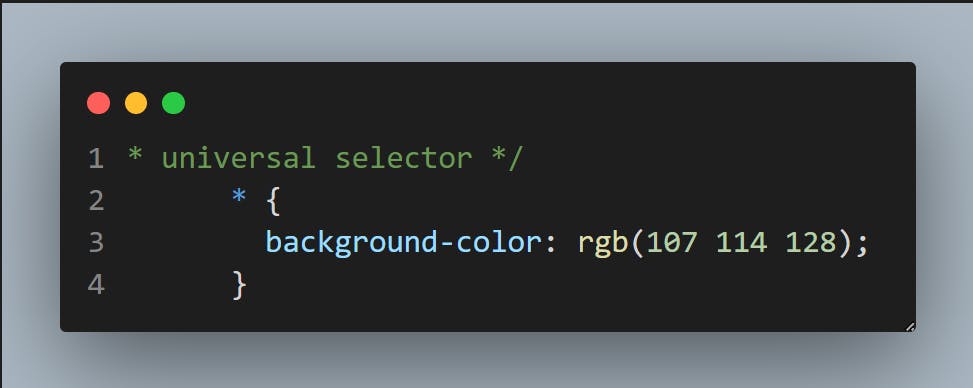
Universal Selector
It selects the whole HTML elements & you can use "*" to select it.
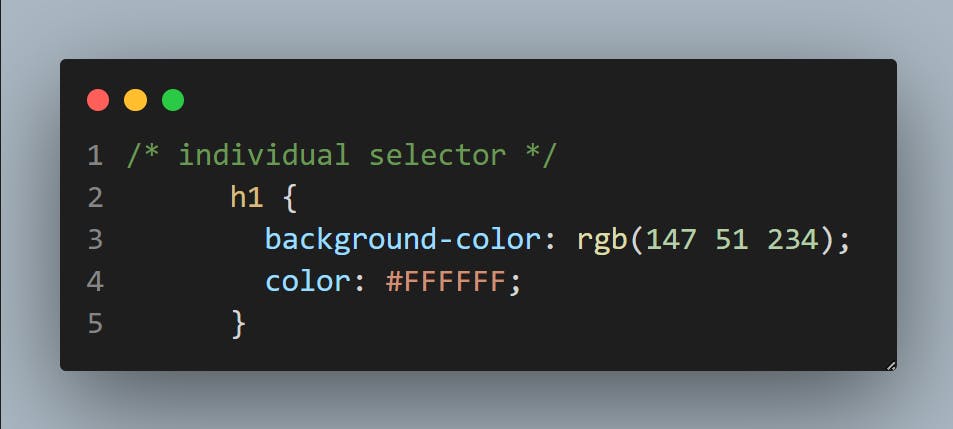
Individual Selectors
It selects the single element, the one that you have targeted.
class & id selectors
you can select the elements by specifying the class name and/or id's,
for selecting a class you have to target with the period " . " & for selecting an id you gave to use " # "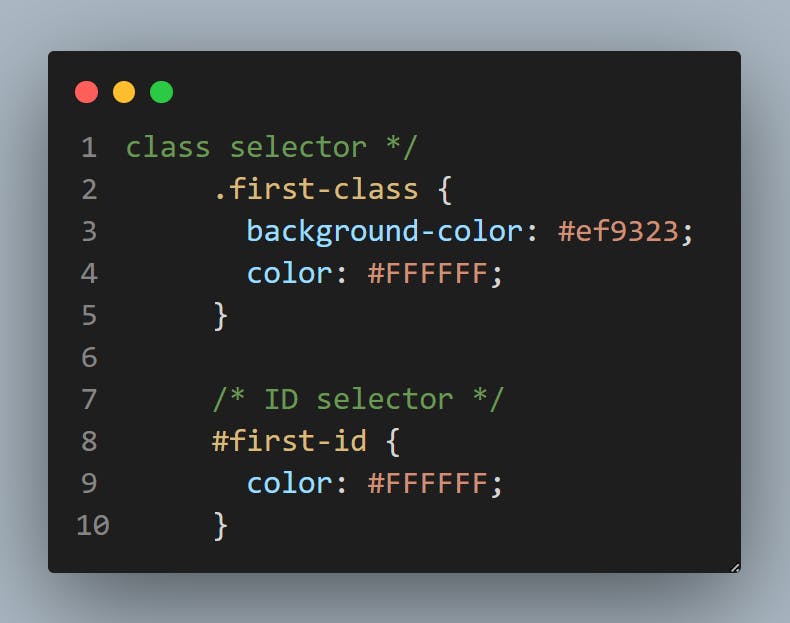
chained Selectors
by this selector, you can target what is inside the overall element for example if you have given two classes then you can select as per the chained selection
html
    <ul>
      <li class="bg-black text-white">item1</li>
      <li>item2</li>
      <li>item3</li>
      <li>item4</li>
      <li>item5</li>
    </ul>
css
li.bg-black.text-white {
        background-color: #000;
        color: #ef9323;
      }
Output

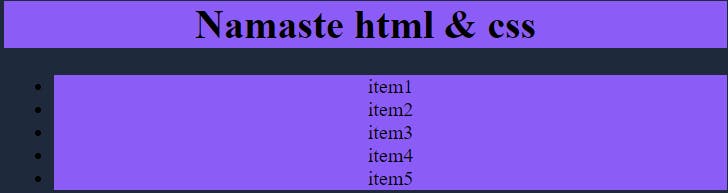
combined Selectors
with combined selectors, you can select multiple elements.html <!-- heading --> <h1>Namaste Html & css</h1> <ul> <li class="bg-black text-white">item1</li> <li>item2</li> <li>item3</li> <li>item4</li> <li>item5</li> </ul>css h1, li { background-color: #8b5cf6; text-align: center; }
Inside an element
you can select the specific element that you want to target for applying the css.html <!-- Division --> <div> <p>lorem</p> <li>awesome</li> <ul> <li>highlight me green</li> <li>highlight me green</li> </ul> </div>css div ul { background-color: lawngreen; }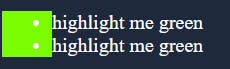
& notice, if I change the CSS codes as below the output, will apply the bg color to the "li" background, so it means it targets the specific sectors that you wanted to apply a CSS.

direct child
you can select the direct child of the particular element, as we have a selected li in the below cas where div is a parent & li is a child underneath.html <!-- Division --> <div> <p>lorem</p> <li>awesome</li> <ul> <li>highlight me green</li> <li>highlight me green</li> </ul> </div>css div > li { background-color: #7667e4; color: white; }

Here we are going to learn CSS pseudo selectors & their properties
sibling or nth child
sibling are the pairs of elements with the same hierarchy level that you can select & apply your CSS, now what is an nth-child in the below code examples you can see we have selected p, so if you apply an nth-child pseudo property to it & in "( here you can do all the math)" & it will select & apply css as per that.html <!--section --> <section> <p class="sibling">Test 1</p> <p>Test 2</p> <p>Test 3</p> <p>Test 4</p> <p>Test 5</p> </section>css p:nth-child(-n + 4) { border: 2px solid orange; margin-bottom: 1px; color: white; }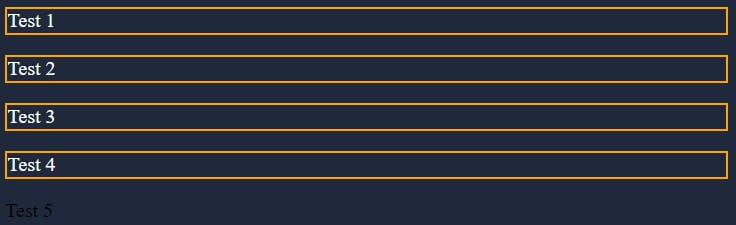
::before & ::after
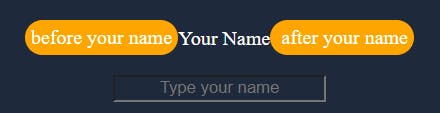
in before the given property will be injected in the dome as per the selected element.html <label class="pseudo" for="First Name">Your Name</label><br />css .pseudo::before { border-radius: 50px; background-color: orange; content: "before your name"; padding: 5px; } .pseudo::after { border-radius: 50px; background-color: orange; content: " after your name"; padding: 5px; }
:hover
after defining hover to a selected element you can set a change or behavior after the first state.
html
<button>Submit</button>
css
button {
  margin-top: 30px;
}
button:hover {
  background-color: red;
  margin-top: 30px;
  height: 40px;
  width: 100px;
}
1state
 After:hover

Thanks for reading. you can find the code sandbox below so that you can uncomment & try the things on your own, Thanks for reading till the end :)